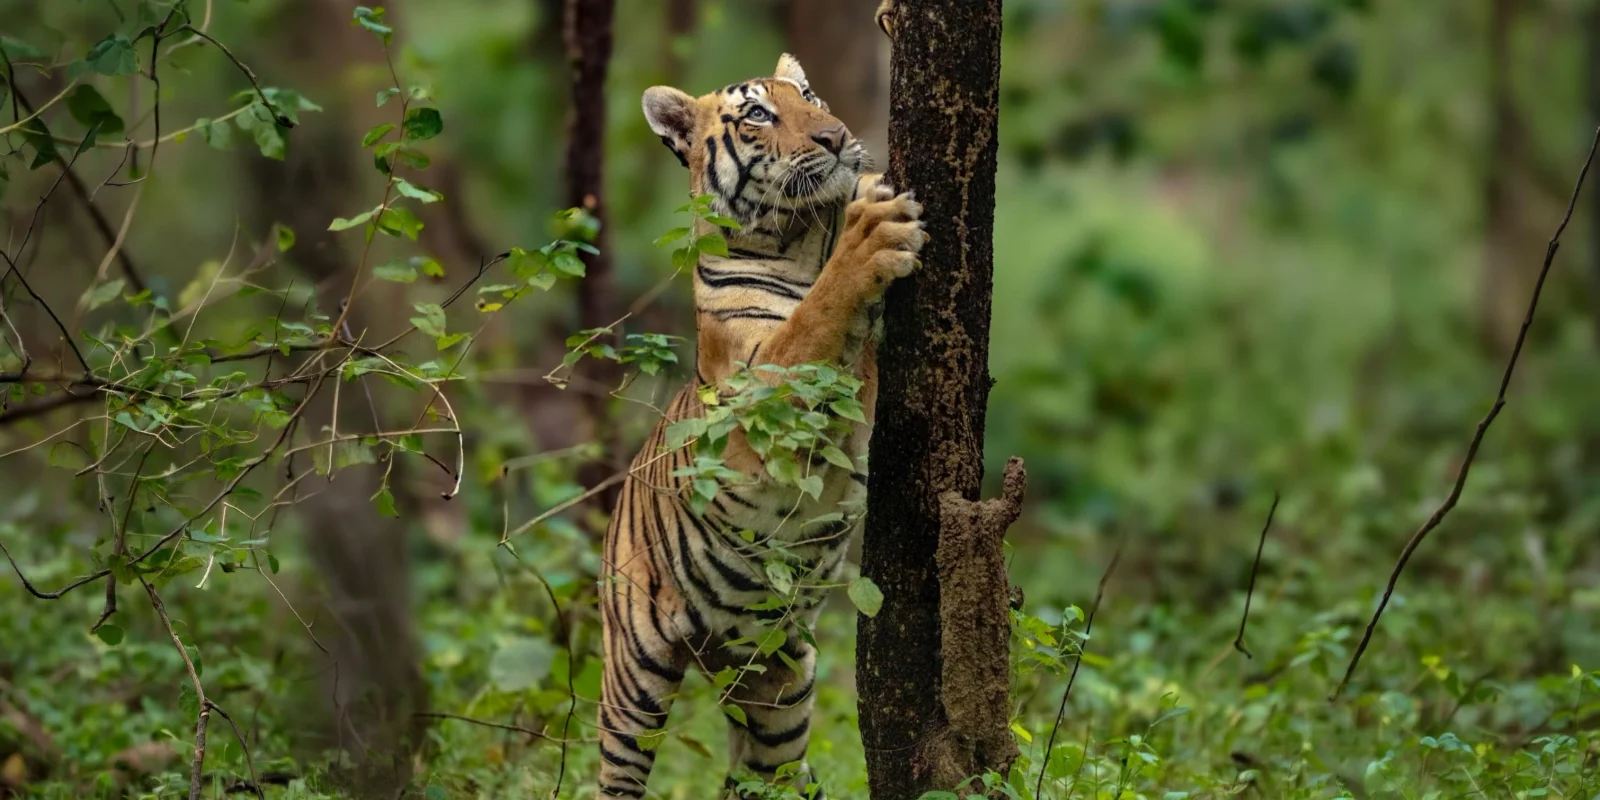
Most people who come back from an Indian safari disappointed with their photographs did not have the wrong camera. They had the wrong seat, the wrong shutter speed, or three seconds too little preparation when the tiger finally stepped out.
This guide covers what actually determines the quality of your safari images — and most of it has nothing to do with how much your lens cost.
Choosing Your Lenses
The workhorse: 100–400mm or 200–500mm zoom. If you carry one lens, make it this. Indian tiger reserves put you anywhere from 15 to 150 metres from your subject, and a zoom lets you react. A prime lens is sharper and will cost you sightings.
The second body: 24–70mm or 70–200mm. Habitat shots — a tiger walking down a forest track with the whole road in frame — are more evocative than another tight portrait. Keep a wider lens ready on a second body.
The specialist: 500mm or 600mm prime. Superb if you are chasing birds or distant subjects, and heavy enough to be a liability in a bouncing Gypsy. Bring it only if you know you want it.
Do not change lenses in the field if you can avoid it. Dust in a dry deciduous forest in May is relentless. Two bodies beats one body and a lens swap every time.
Camera Settings That Work in Jungle Light
Indian forests are a high-contrast nightmare — bright sky, deep shade, dappled light through teak and bamboo. Here is a starting framework.
Shoot in aperture priority or manual with auto ISO. Things happen too fast for full manual.
Minimum shutter speed of 1/500s for stationary animals, 1/1000s or faster for movement. Even a "still" tiger flicks its tail and turns its head. And you are sitting in a vehicle with an engine, other people, and possibly a rough idle.
Aperture wide open or close to it — f/4 to f/6.3. You need the light, and subject separation from a busy forest background is worth a lot.
Do not be afraid of ISO. A sharp image at ISO 6400 beats a blurred one at ISO 800. Modern sensors and current noise-reduction software handle high ISO far better than most photographers assume.
Underexpose slightly, around -1/3 to -2/3 EV. Tigers are bright against shade, and blown highlights on the coat cannot be recovered. Shadows can.
Back-button focus, continuous AF, and a wide or zone AF area for moving subjects. Switch to single-point for a stationary animal behind vegetation.
Shoot RAW. Always. Jungle white balance is unpredictable and you will want the latitude.
The Thing That Matters Most: Your Seat
Here is the advice no gear guide gives you.
Book the full Gypsy. Do not share. In a shared vehicle you have no control over how long the driver waits, where he parks, or which side of the vehicle faces the subject. You will spend the sighting shooting over someone's shoulder.
Take the seat behind the driver on the first drive, then swap. Position determines angle, and angle determines whether you get an eye-level portrait or a photograph of ferns.
Brief your driver and guide before you enter. Tell them plainly: you want the light behind you, you are willing to wait, and you would rather sit at one waterhole for forty minutes than tick off five zones. Good drivers respond immediately to a clear brief. They cannot read your mind.
Shoot from as low as possible. Get down in the footwell if the vehicle allows. Eye-level images of a tiger look dramatically better than looking down from a raised seat.
Field Craft: Getting Yourself Into Position
Arrive at the gate first. The first vehicle in has an unobstructed forest and the best of the early light.
Learn alarm calls. A chital's staccato bark or a langur's alarm from the canopy tells you a predator is moving, often minutes before you see anything. Your guide knows these — ask him to explain what he is hearing.
Wait. The single biggest difference between amateur and professional safari images is patience. Driving continuously covers ground; sitting at a waterhole in April produces photographs.
Watch the light, not the clock. The first and last forty minutes of a drive give you warm, low, directional light. Mid-morning light is harsh and flat. Plan accordingly — use the golden window for portraits and the flat light for behaviour and habitat shots.
Pre-focus and pre-frame. If you have found fresh pugmarks on a track, set up for where the animal will emerge, not where it is now.
Ethics: The Non-Negotiables
Never ask a driver to block an animal's path or crowd it. A stressed tiger produces bad photographs and worse conservation outcomes. • No flash. Ever, on any wildlife. • No playback of calls to attract birds. • Stay in the vehicle. Always. • Do not pressure a guide to break park rules. A photograph is not worth someone's licence. • Keep quiet. Excitement is understandable; shouting ruins the sighting for everyone and pushes the animal away.
Packing Checklist
Two bodies, or one body plus a backup • Zoom lens (100–400mm class) and a wider zoom • Twice the memory cards and batteries you think you need — cold mornings drain batteries fast • Beanbag or a folded jacket for stabilising on the vehicle frame • Rain cover and dust cover • Sensor blower and microfibre cloths • Neutral clothing in olive, brown or grey • Binoculars — you will find more subjects with them than through a viewfinder • Power bank and a car charger; many resorts have unreliable power
Photography-Focused Safaris with Wild Excursions
We run dedicated wildlife photography tours across Tadoba, Pench, Kanha and Umred-Karhandla, and they are built differently from standard safaris — full vehicles as standard, drivers briefed on positioning and light, zone selection based on where animals are currently active, and itineraries with enough safaris that a quiet drive does not sink the trip.
We will also tell you honestly which month suits the images you are after. Tiger-in-water shots mean May. Green backgrounds mean October. Misty meadow light means December.
See our photography tours · Plan a custom photo trip
Frequently Asked Questions
What lens is best for a tiger safari in India?
A 100–400mm or 200–500mm zoom covers the great majority of situations. Add a 24–70mm on a second body for habitat shots.
What shutter speed should I use for tiger photography?
At least 1/500s for a stationary animal and 1/1000s or faster for movement.
Should I book a full Gypsy for photography?
Yes. Vehicle control over positioning and waiting time affects your images more than any equipment upgrade.
What is the best month for wildlife photography in central India?
April to June for tiger activity and water images; October to December for green backgrounds and soft light.
Can I use a flash on safari?
No. Flash is prohibited and harmful to wildlife.
Ready to see it for yourself?
Browse Safari Tours